
Hey, are any of you going crazy this week with CRCT testing at school. I feel like I'm back in school. Staying up late studying, waking up early studying, studying, studying, studying. My oldest had testing all week, and today is the last day, FINALLY.
Sorry I've been completely missing in action, totally unexpected, but I just had no energy to blog, I was exhausted, lol.
Anyway, I'm going to share a quick tutorial on making a super cute MONKEY cake, with fondant. I hope you enjoy it, and see it is rather simple. I bet ANYONE can do it, after reading this super duper tutorial, lol. Seriously, this should be doable, so give it a try.

 Start with some fondant. Knead it to make it smooth and soft.
 Roll your fondant out, with plenty of powdered sugar, or cornstarch. I prefer powdered sugar.
 Magically after rolling it out, THIS happened. Just kidding, I can't believe I didn't take pics of these steps, but basically I just cut out all my shapes. So use your imagination, lol. I had a picture I was looking at, and just eye balled it, however you could actually trace templates out, to be more precise.
 Place the face, and see where you need to cut the overlapping areas.
 Nice clean cut, now the face will fit perfectly.
 Add the detail to the ears.
 Roll out some very thin fondant.
 Apply the smile, and nostrils. The fondant will not stick, so after placing it the way you like, then dab some water and attach your pieces. At this point you can also see the fondant is all powdery. Doesn't look to good, right?
 All you need to do is paint it with water, and it will be shiny. OR you can use steam, but it is harder to get steam on a flat surface like this, unless you have a handheld steamer. For small pieces, like flowers, or figures, you can hold them on top of a boiling pot of water.
 The client also wanted some palm trees.
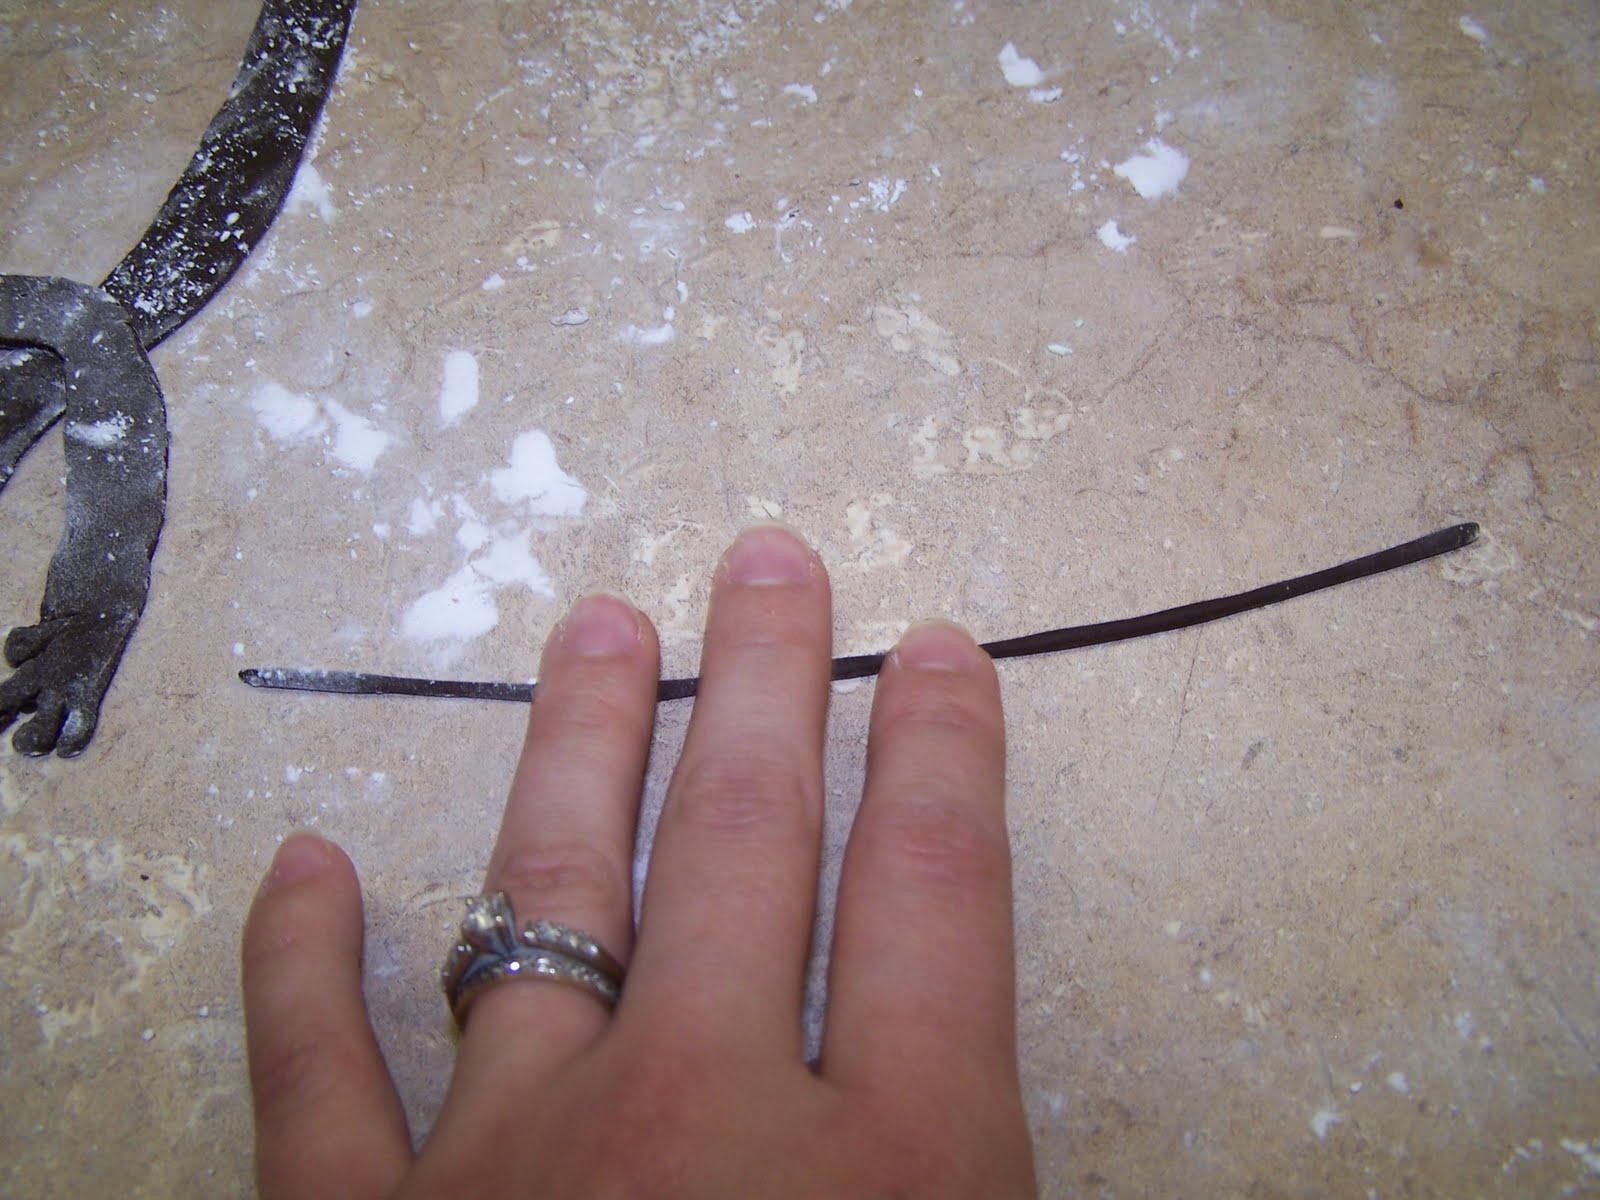
 So after rolling out a long log, I cut into the top layer. Can you see, the picture is blurry but I hope you get the idea.
 I also rolled out a green piece of fondant, and free hand cut out different leaf shapes. Again cutting the leafs of the edges. Then I made the vein down the center, using the back of a knife. Don't press to hard.
 There you have it, the monkey and the trees, ready to go on the cake. All these pieces can be made in advance if you choose. Just let it dry, and it will store for a very long time. We used it that afternoon, and placed it on the cake.
 Just a close up of the palm trees.
 Dinod D, keeping himself busy.
 Yes my baby, you are awesome, ohh YEAH!!!
 Totally love it little man, you rock dude.

SO what you do think?
Can you make your very own MONKEY cake now?
I'd love to hear what you think.
If you liked this post, then follow me dude!


Sorry I've been completely missing in action, totally unexpected, but I just had no energy to blog, I was exhausted, lol.
Anyway, I'm going to share a quick tutorial on making a super cute MONKEY cake, with fondant. I hope you enjoy it, and see it is rather simple. I bet ANYONE can do it, after reading this super duper tutorial, lol. Seriously, this should be doable, so give it a try.


Now will you please put your tongue back in your mouth, lol.
SO what you do think?
Can you make your very own MONKEY cake now?
I'd love to hear what you think.
If you liked this post, then follow me dude!
SUBSCRIBE BY EMAIL
Enter your email address here:


Oh my goodness, that's so cute! And you're right; it does look doable. Maybe I'll get over my fear of fondant one of these days. :)
ReplyDeleteBella, I too have not been bloggin much this week! Its been soo busy with easter and break for Kiah from school! I have hardly had time to blog! :(
ReplyDeleteAnyways this cake is sooo adorable! I love it! My sister is prego and her nursery and baby shower theme is monkeys! I will have to share this with my sister so she can make a cake like this! :)
Thanks for sharing!
"Magically after rolling it out, THIS happened" you are soo funny:)) I hope if possible to get as good at sewing technicalities as you are at making cakes:)
ReplyDeleteWOW!!!! That is so cute! I love it Bella!!! LOVE!!! Take it easy too, Momma!! You need a break from time to time. AND the kids always come first! We wont mind waiting so you can get a re-charge! :)
ReplyDeletePerfection! We were looking through photos of some of the cakes I made when the kids were young, and seriously, they are so much cooler than store bought cakes. This was adorable. I've never tried fondant, but I hear it calling to me.
ReplyDeleteBELLA!!!! Finally did a Sponsor post! :)
ReplyDeletehttp://alililly.blogspot.com/2011/05/sponsor-sunday-i-found-awesomeness.html
Waoo..its wonderful..you are amazing honey..keep it up..
ReplyDeleteOh Bella its wonderful... so cute one... you are a master...
ReplyDeleteHope you would like to pay a visit to me at
http://craftaworld.blogspot.com/
Love
Farah
That is just lovely! I'm actually totally impressed and that doesn't happen a lot!
ReplyDeleteHey Bella! You make it look so easy, but with the step-by-step it would be GREAT to give a shot one day! Got any Dino Cakes up your sleeves?
ReplyDelete