When I posted THIS POST, asking for help, and then sent an email to my bloggy friends, I never expected so many people to respond.I am blessed with wonderful friends, and I had a ton of ladies, who were more than willing to keep you all entertained while I get better, or get some sleep, or paint my garage, whatever, he he. The point is, I am SUPER LUCKY, super THANKFUL, and SUPER excited to introduce you all to Kassi from
TRULY LOVELY
Hello lovely Bella Before & After readers!!
I am so thrilled to be able to be here helping out the lovely Bella today!
Miss Bella, I hope you feel better soon!
Your readers will miss you terribly while you're on vacation! :)
TRULY LOVELY
Thanks Kassi for being here today, I appreciate it so much!
Kassi is a sweet, sweet gal. Hello, did you notice how she calls me Miss Bella, gotta love that. Since I've been living in the south, I catch myself teaching my kids that too, hehe. I kinda like it, it's just SWEET! Kassi, is sweet, and you can tell from the moment you exchange one email, or comment with her, it's instant. She's also like a cowgirl, or something, which I totally find cute too, and she's getting married soon, which is so exciting. So there is tons to see, at her blog, she a couple, so just go say hello to Miss Kassi!
Hello lovely Bella Before & After readers!!
I am so thrilled to be able to be here helping out the lovely Bella today!
Miss Bella, I hope you feel better soon!
Your readers will miss you terribly while you're on vacation! :)
In the meantime... I'm Kassi from Truly Lovely!
Truly Lovely is a blog by myself and my sister Kayli about the things that we consider to be well... Truly Lovely!! :)
You can read more about my sister and I
AND our blog by clicking that lovely little button down there. :)
The materials needed are:
2 yards of fleece fabric
1 package of coordinating satin blanket binding
Coordinating yarn
Coordinating sewing thread
Pins
Pins
Yarn Needle
Scissors
Sewing Machine
In this case I went with zebra fabric and all red coordinating materials.
First trim your fleece fabric of any uneven edges or those funky white labeled edges... You know what I'm talking about... :)
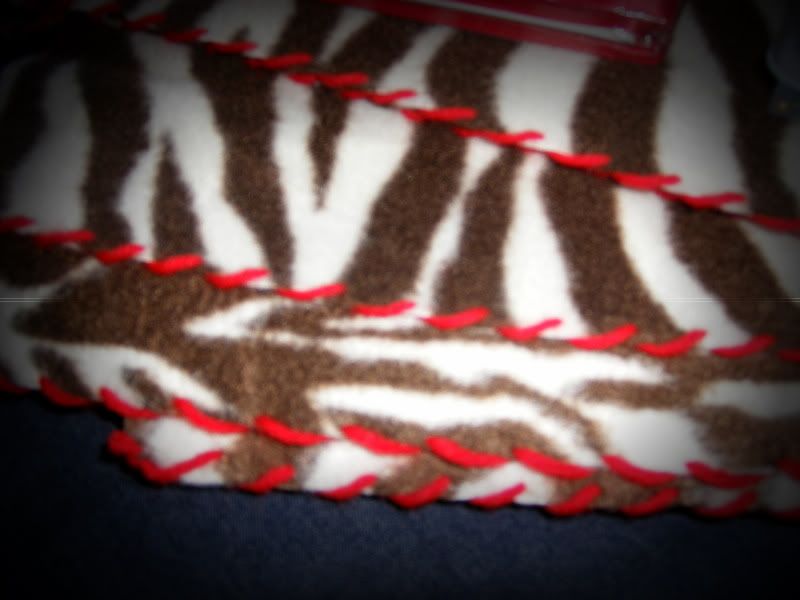
Then, using the Yarn Needle, stitch your thread down the two length sides of your fabric like so... I spaced each stitch about a half an inch apart...

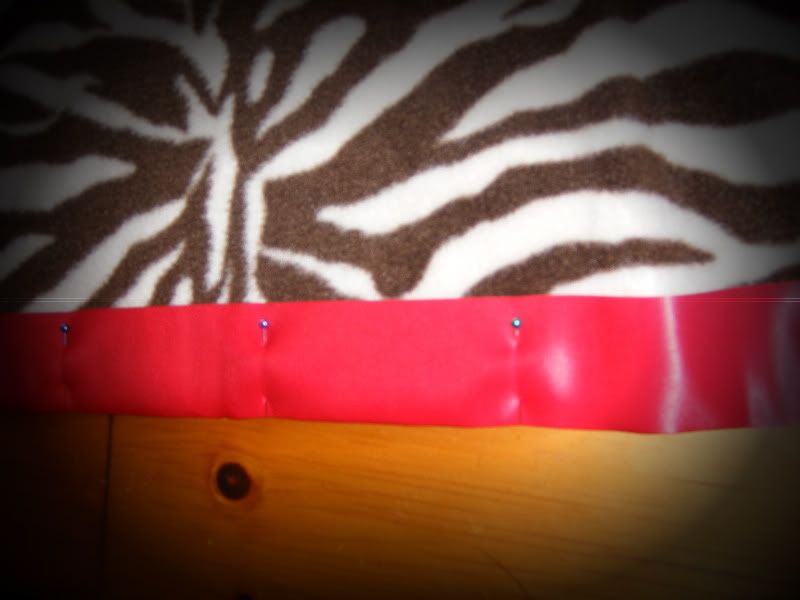
Next you'll pin and trim your satin binding to the two width sides (the two shorter sides)... The binding will have a fold down the middle, simply line that fold up with the edge of your fabric, making sure it's centered so there's an even amount of binding on both sides...

Fold over the edges of the binding to make your four corners and pin those as well. You can either trim or fold the extra binding inside to make your corner.

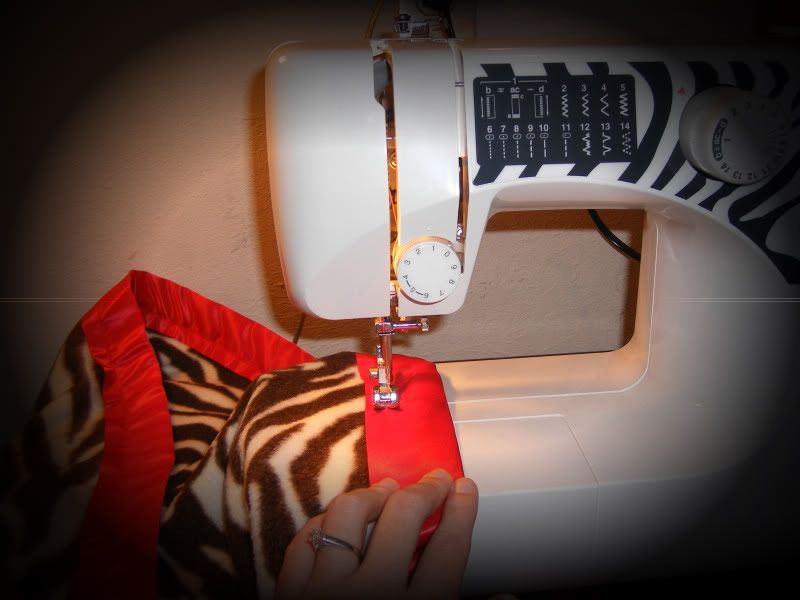
Once you have the binding pinned onto both sides, get out the sewing machine. I used red thread to match the binding...
If you sew really well, you can use a varying color of thread for added pop!!! I don't so much... SO matching thread hides my inexperienced sewing skills. :)
(I'm a little addicted to zebra print... can you tell?!?)


Next you'll pin and trim your satin binding to the two width sides (the two shorter sides)... The binding will have a fold down the middle, simply line that fold up with the edge of your fabric, making sure it's centered so there's an even amount of binding on both sides...

Fold over the edges of the binding to make your four corners and pin those as well. You can either trim or fold the extra binding inside to make your corner.

Once you have the binding pinned onto both sides, get out the sewing machine. I used red thread to match the binding...
If you sew really well, you can use a varying color of thread for added pop!!! I don't so much... SO matching thread hides my inexperienced sewing skills. :)
(I'm a little addicted to zebra print... can you tell?!?)

Simply sew the binding to the fleece pulling pins as you go.
And TaDA!!!! A SUPER EASY fleece blanket made by you!
They make great baby gifts, or gifts for friends or family!! :)

Hope you enjoyed my tutorial!!
We would love it if you would pop over to Truly Lovely to say hi!
AND if you like what you see we would LOVE a follow! :)
Hope to see you there!!
THANKS SO MUCH TO THE LOVELY MISS Bella of Bella Before & After
for allowing us to share with you all today!!!
Thanks Kassi for being here today. I enjoyed having you girl!!
BELLA'S CURRENT GIVEAWAY
Agape Love DesignsROSE PENDANT NECKLACE
SUBSCRIBE BY EMAIL
Enter your email address here:


No comments:
Post a Comment
I LOVE comments. I also LOVE visiting your blog, so please leave a CLICKABLE LINK to your blog post by using the following code!!
<a href="link to your url, or direct blog post"> what you want your link to say </a>
P.S. Thanks BUNCHES for reading my blog and leaving a NICE comment :)
Hugs, Bella